Heal Wounds Twice as Fast With This DIY Ointment!
If you’ve ever experienced a wound, you know how important it is to heal quickly and effectively. This DIY ointment combines natural ingredients that promote faster recovery and protect your skin. By harnessing the power of beeswax, coconut oil, and essential oils, you can create a remedy that not only speeds up healing but also nourishes your skin. Curious how to make this ointment and apply it for the best results? Let’s explore.
Understanding the Healing Properties of Natural Ingredients
When you explore the healing properties of natural ingredients, you’ll discover a treasure trove of options that can aid in wound recovery.
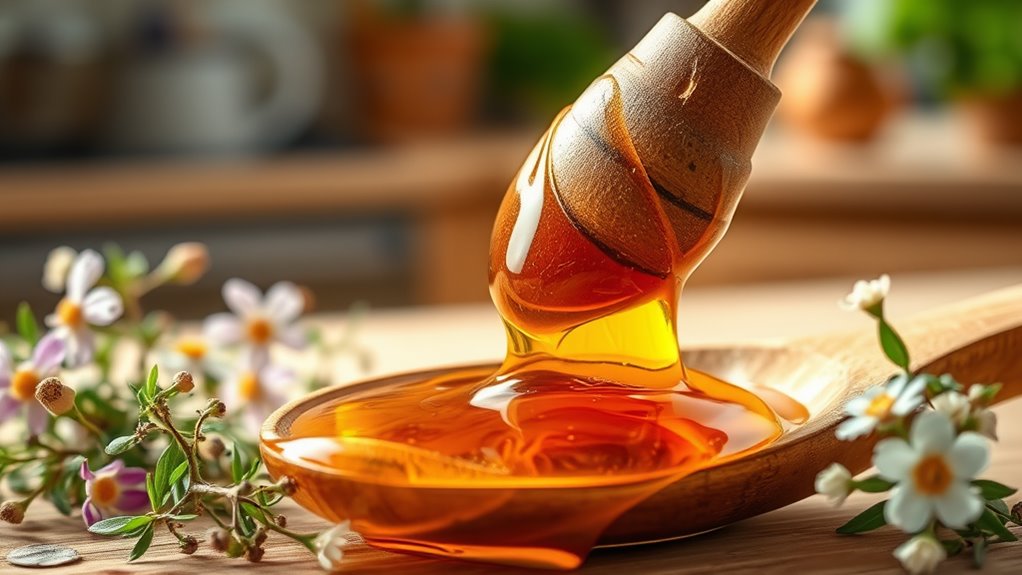
It’s empowering to know that you can create a homemade wound healing remedy that not only promotes healing but also connects you with nature. Ingredients like honey and aloe vera have been used for centuries due to their soothing and antibacterial properties. Scientific evidence supports the effectiveness of honey in treating minor cuts and abrasions.
By harnessing these natural elements, you’re not just treating a wound; you’re nurturing your body with care and intention.
Combining these ingredients in a simple DIY ointment allows you to take control of your healing journey.
Imagine the sense of belonging you’ll feel as you share your homemade remedy with friends and family, fostering connections through shared knowledge.
Embracing these natural alternatives can transform your approach to wound care, making it a fulfilling experience that celebrates both self-care and community.
Essential Ingredients for Your DIY Ointment
Creating a DIY ointment involves a few essential ingredients that can significantly enhance your wound healing process.
First, consider beeswax; it acts as a natural thickener and forms a protective barrier over your wounds.
Next up, coconut oil is fantastic for its antimicrobial properties and deep moisturizing effects.
Adding olive oil can also boost your ointment’s healing power, as it’s rich in antioxidants.
Don’t forget essential oils!
Lavender oil is known for its soothing effects and can help reduce inflammation.
Tea tree oil is another must-have for its antiseptic qualities.
Finally, vitamin E oil can promote skin regeneration and give your ointment an extra healing kick. Using natural ingredients like beeswax and coconut oil can create a powerful ointment that supports faster healing.
Step-by-Step Guide to Creating Your Ointment
Follow these simple steps to whip up your own healing ointment at home.
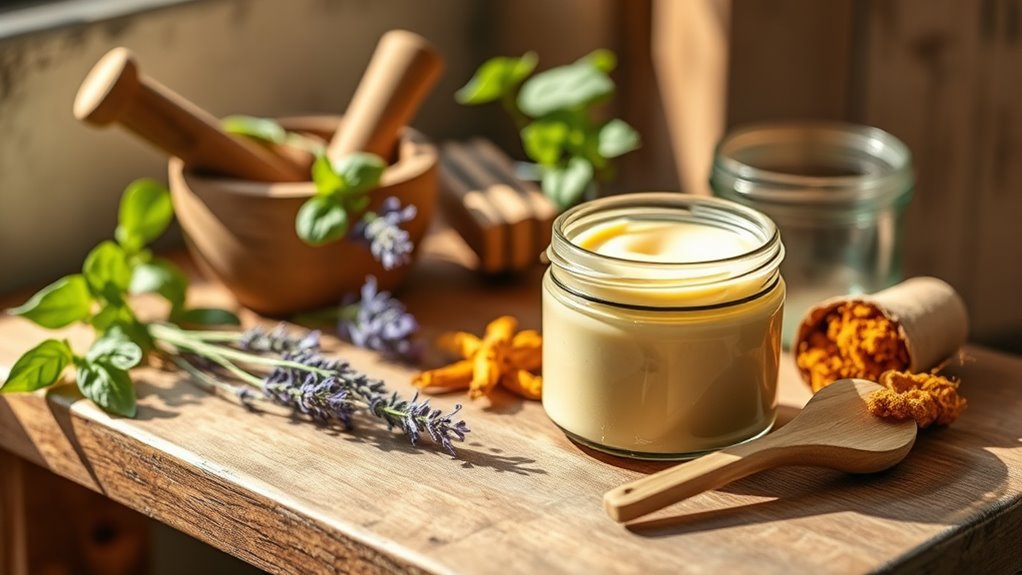
First, gather your essential ingredients: beeswax, coconut oil, and your chosen healing herbs.
Next, chop the herbs finely to release their healing properties. In a double boiler, melt 1 part beeswax with 2 parts coconut oil over low heat.
Once melted, stir in the herbs and let the mixture simmer for about 30 minutes. This allows the oils to infuse with the healing goodness of the herbs.
Afterward, strain the mixture through a fine mesh cloth to remove the solids. Pour the liquid into clean jars or containers and let it cool completely.
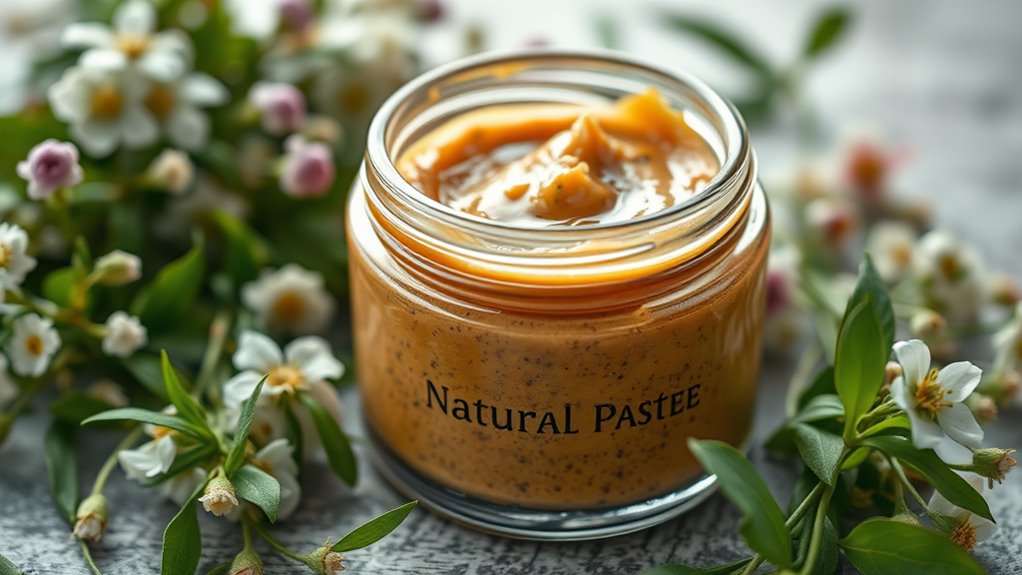
Your ointment will solidify as it cools, creating a soothing balm.
Finally, label your jars and share your creation with friends and family. They’ll appreciate your thoughtful gift, and you’ll feel a sense of belonging in this nurturing community.
Enjoy your healing journey!
How to Apply the Ointment for Maximum Effectiveness
To ensure your homemade ointment works effectively, start by cleaning the wound thoroughly with mild soap and water. This step removes dirt and bacteria, setting the stage for healing.
Once your wound is clean, gently pat it dry with a clean towel.
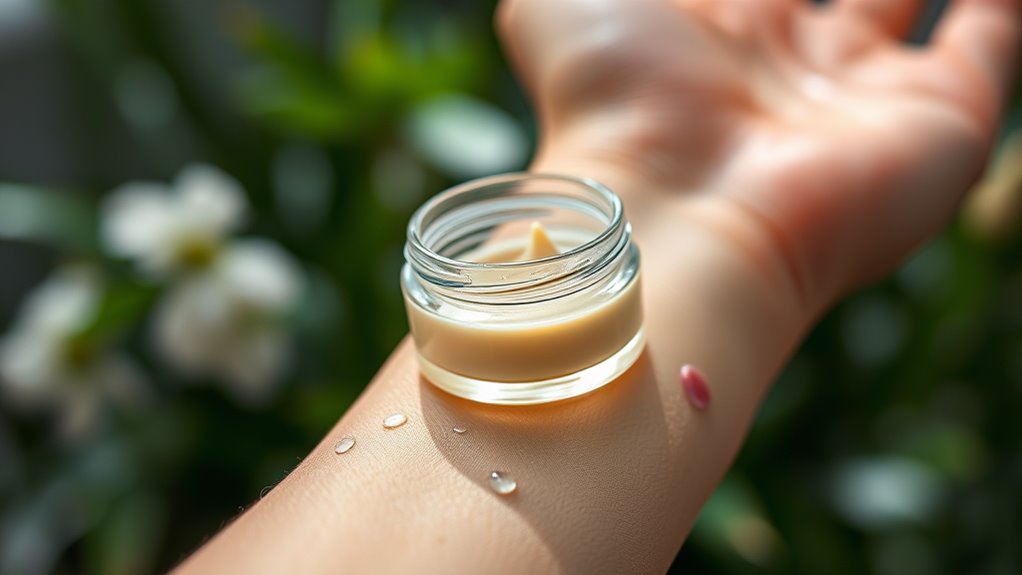
Next, take a small amount of the ointment and apply it directly to the affected area. Use your fingertips or a clean applicator to spread an even layer, ensuring the entire wound is covered.
Don’t be too heavy-handed; a thin layer is often all you need.
After applying the ointment, cover the wound with a sterile bandage to keep it protected.
Change the bandage and reapply the ointment at least once a day or whenever it becomes dirty. Consistency is key, so make this part of your daily routine.
You’ll feel empowered knowing you’re actively aiding your healing process!
Tips for Storing and Preserving Your DIY Ointment
After you’ve applied your ointment and begun your healing journey, it’s important to know how to store your DIY creation properly.
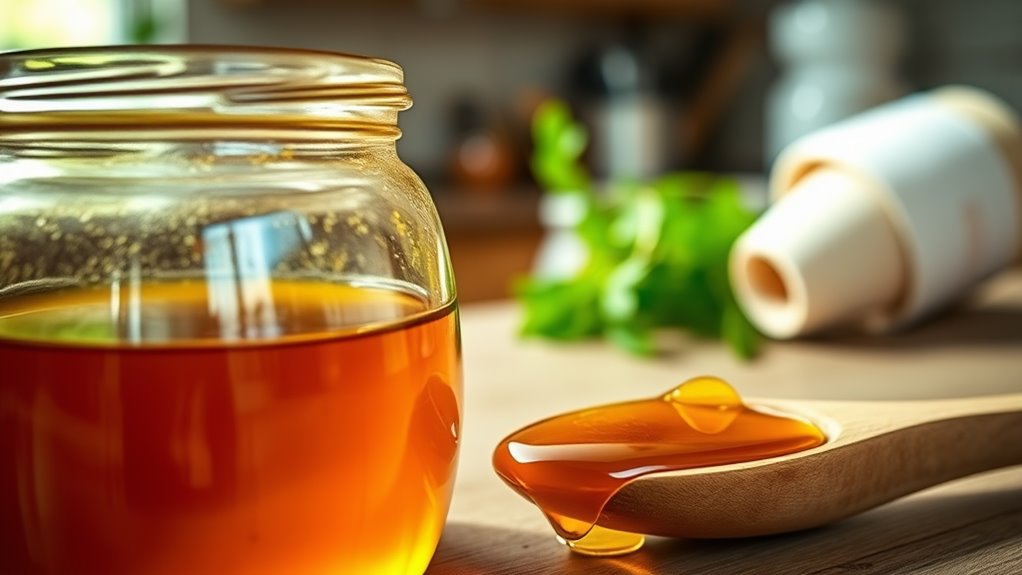
To keep it effective, choose a clean, dry container with a tight-fitting lid, like a glass jar or a small tin. Label your container with the date you made the ointment to track its freshness.
Store it in a cool, dark place away from direct sunlight, as heat and light can degrade its quality. If your ointment contains essential oils or natural ingredients, consider refrigerating it to extend its shelf life.
Check for any changes in color, smell, or texture before each use. If you notice anything off, it’s best to discard it.
Additional Natural Remedies to Complement Your Healing Process
While your DIY ointment plays a crucial role in your healing journey, incorporating additional natural remedies can further enhance your recovery.
Consider adding honey to your routine; its natural antibacterial properties can promote faster healing and soothe inflammation. Honey also has moisturizing properties that can help keep your skin hydrated during the healing process. You might also try aloe vera, which offers cooling relief and hydrates the skin.
Herbal teas, like chamomile or green tea, can support your immune system, helping your body heal from within.
Don’t forget about essential oils! Lavender oil not only smells divine but can also reduce scarring and promote relaxation.
Lastly, maintaining a balanced diet rich in vitamins and minerals, especially vitamin C and zinc, is vital for recovery.
Surrounding yourself with supportive friends and family during this time can lift your spirits, making your healing process feel less isolating.
Embrace these remedies, and remember, you’re not alone on this journey to wellness!