My DIY Burn Cream Made From Kitchen Ingredients
Did you know that a staggering 1.1 million burn injuries occur in the U.S. each year, many of which are minor yet painful? Instead of reaching for store-bought creams filled with chemicals, why not explore a simple and effective DIY solution? This recipe, made from kitchen ingredients, can provide relief while ensuring your skin gets the gentle care it deserves. Curious about how to create your own burn cream? Let’s dive into the details.
Ingredients You’ll Need
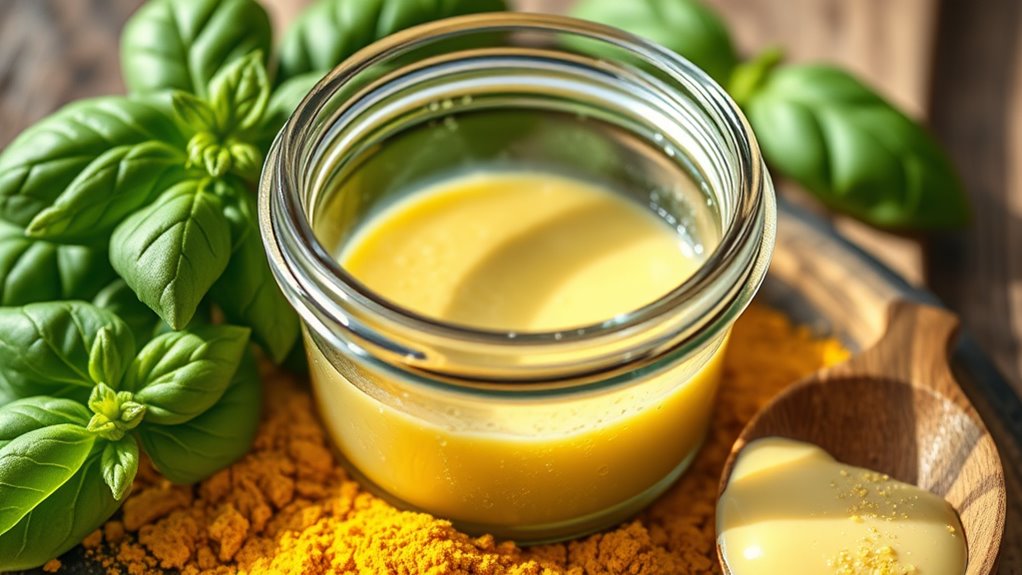
When you’re ready to whip up your own burn cream, you’ll need a few key ingredients that pack a healing punch.
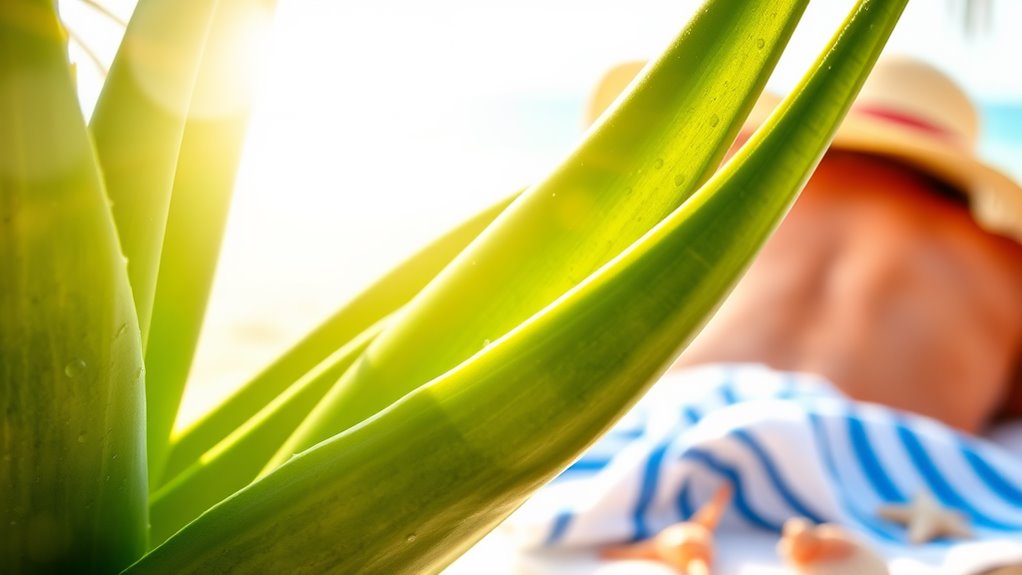
Look for items like coconut oil, known for its moisturizing properties, and aloe vera gel, which soothes skin irritation.
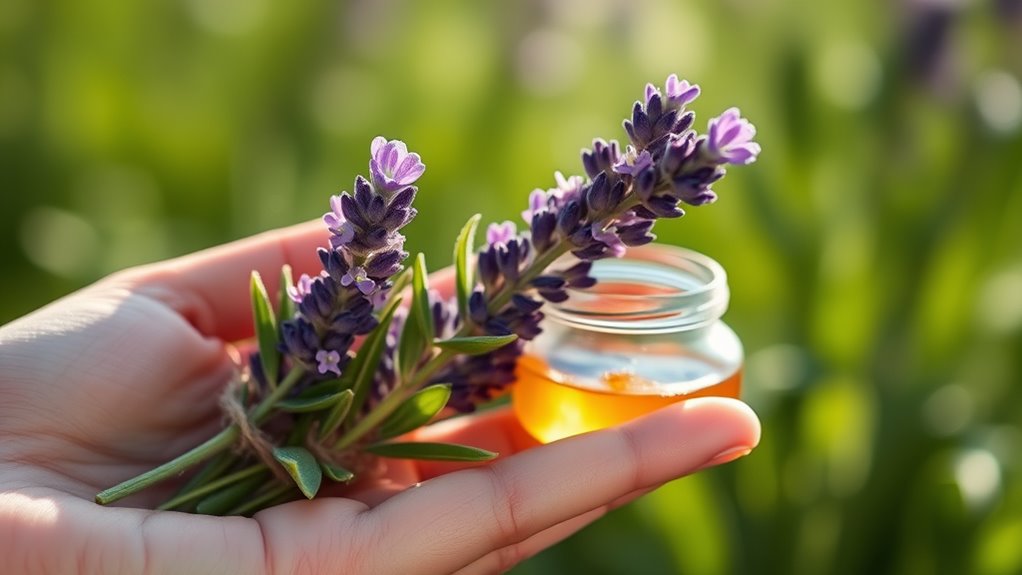
Also, consider adding a few drops of lavender essential oil for its calming effects. Additionally, incorporating honey can provide antibacterial properties that enhance the healing process.
Step-by-Step Recipe
Now that you’ve gathered your ingredients, you’re just a few simple steps away from creating a soothing burn cream.
Start by mixing equal parts of olive oil and coconut oil in a bowl.
Next, add a few drops of lavender essential oil.
Stir until well combined.
Finally, transfer your mixture into a clean jar and let it cool before use.
Enjoy your homemade remedy! Incorporating aloe vera gel into your cream can enhance its soothing effects on sunburned skin.
Benefits of Homemade Burn Cream
Homemade burn cream offers a natural, effective solution for soothing minor burns and skin irritations.
You get to control the ingredients, ensuring no harsh chemicals or unwanted additives. It’s often more cost-effective than store-bought options, and you can customize it to your liking.
Plus, making it at home gives you a sense of empowerment and satisfaction, knowing you’re using safe, natural remedies.
How to Apply the Cream
Knowing how to apply your homemade burn cream effectively can enhance its soothing benefits even further.
First, gently clean the burn area with mild soap and cool water. Pat it dry with a clean cloth.
Next, scoop a small amount of cream and apply it in a thin layer, ensuring full coverage.
Finally, cover it loosely with a sterile bandage for protection.
Tips for Treating Different Types of Burns
When you encounter a burn, it’s crucial to identify its type for the best treatment approach.
For first-degree burns, cool the area and apply your DIY burn cream.
With second-degree burns, clean gently, then cover with a sterile bandage before applying the cream.
For third-degree burns, seek emergency help immediately—never apply cream, as these require professional treatment.
Storage and Shelf Life
Proper storage is essential for extending the shelf life of your DIY burn cream.
Follow these tips to keep your cream effective:
- Use a clean, airtight container to prevent contamination.
- Store it in a cool, dark place, away from direct sunlight.
- Label the container with the date you made it, so you can track its freshness.
With these steps, you’ll ensure your cream stays potent!