Fast DIY Ointment for Scrapes and Minor Cuts
When you face scrapes or minor cuts, having a quick and effective ointment on hand can make all the difference. Making your own DIY ointment is not only simple, but it also allows you to use natural ingredients tailored to your needs. With just a few essential components, you can create a healing solution that works. Curious about the ingredients and steps involved? Let’s explore what you’ll need to get started.
Key Takeaways
- Combine coconut oil or shea butter with beeswax and essential oils like lavender or tea tree for a nourishing ointment.
- Melt carrier oil and beeswax in a double boiler, then mix in essential oils and honey for added healing benefits.
- Clean the wound thoroughly, then apply a thin layer of the ointment and cover it with a sterile bandage.
- Store the ointment in a cool, dark place in a sealed container, and check for spoilage before use.
- Monitor the wound for signs of infection and reapply the ointment as needed, especially after washing.
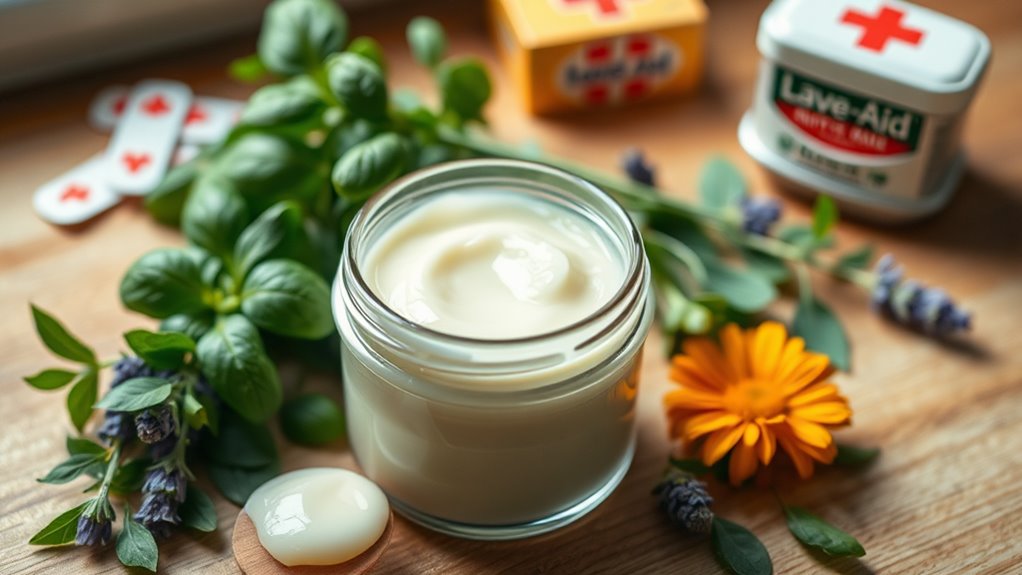
Essential Ingredients for Your Ointment
To create an effective ointment for scrapes and minor cuts, you’ll need a few essential ingredients that promote healing and protect the skin.
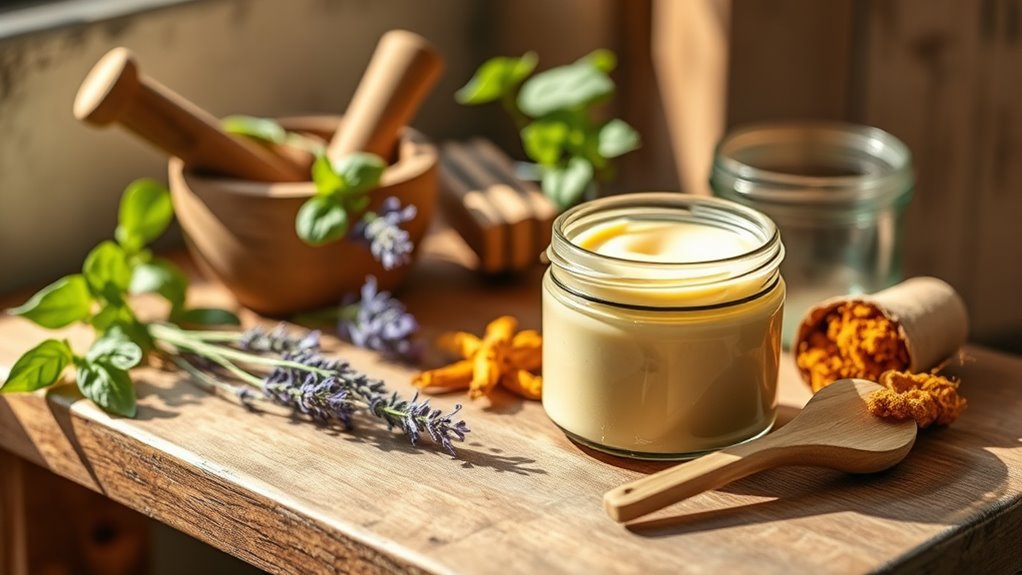
Start with a base of coconut oil or shea butter, which moisturizes and nourishes the area. Next, add beeswax to thicken the mixture and create a barrier against dirt. Incorporate essential oils like lavender or tea tree oil for their antibacterial properties. Lastly, consider adding vitamin E oil for its healing benefits. These components come together to form a natural wound ointment that soothes, protects, and aids in recovery, making it perfect for your first aid kit. Additionally, natural ingredients can significantly enhance the healing process by providing essential nutrients and anti-inflammatory effects.
Step-by-Step Preparation Process
Creating your DIY ointment is a straightforward process that can be completed in just a few simple steps.
First, gather all your essential ingredients and tools, including a small bowl and a mixing tool.
Next, measure out the carrier oil and beeswax, then melt them together in a double boiler until fully combined. Once melted, remove the mixture from heat and stir in your chosen essential oils.
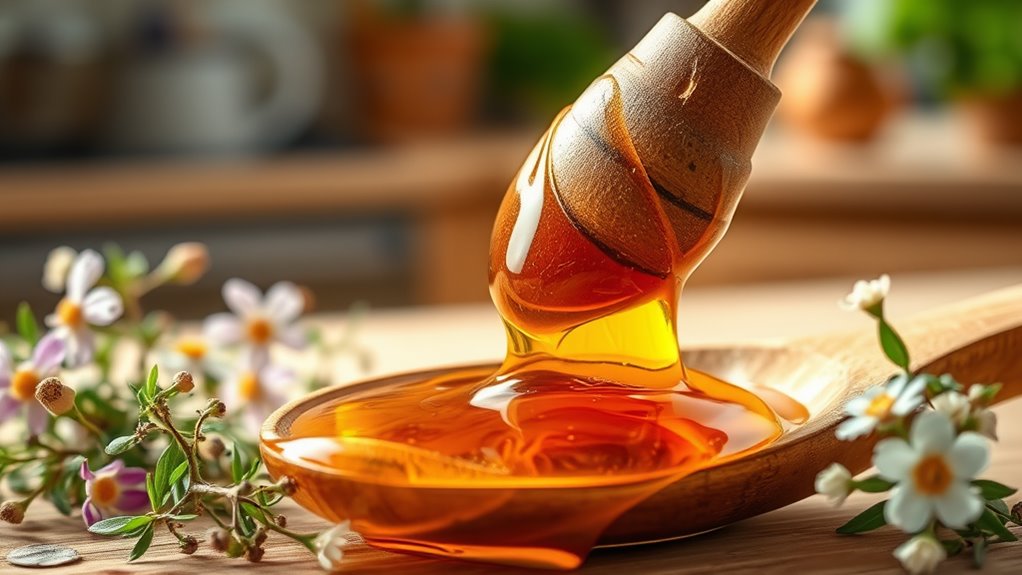
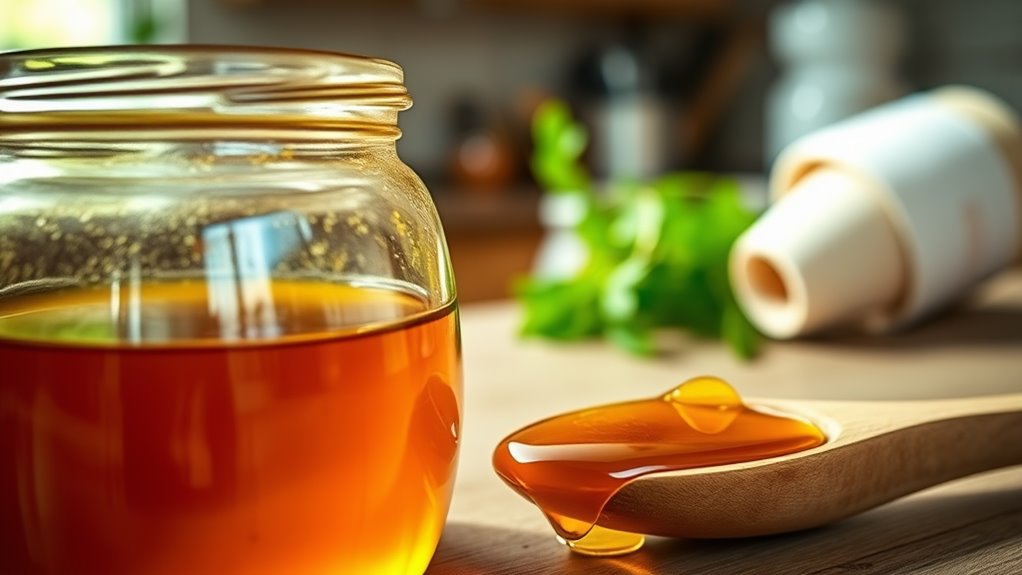
Honey, known for its natural wound healing properties, can also be incorporated into your ointment for added benefits.
Allow it to cool slightly before pouring it into a clean container. Let it set until firm, and your homemade ointment is ready for use on scrapes and minor cuts.
Enjoy your creation!
Application Techniques for Maximum Effectiveness
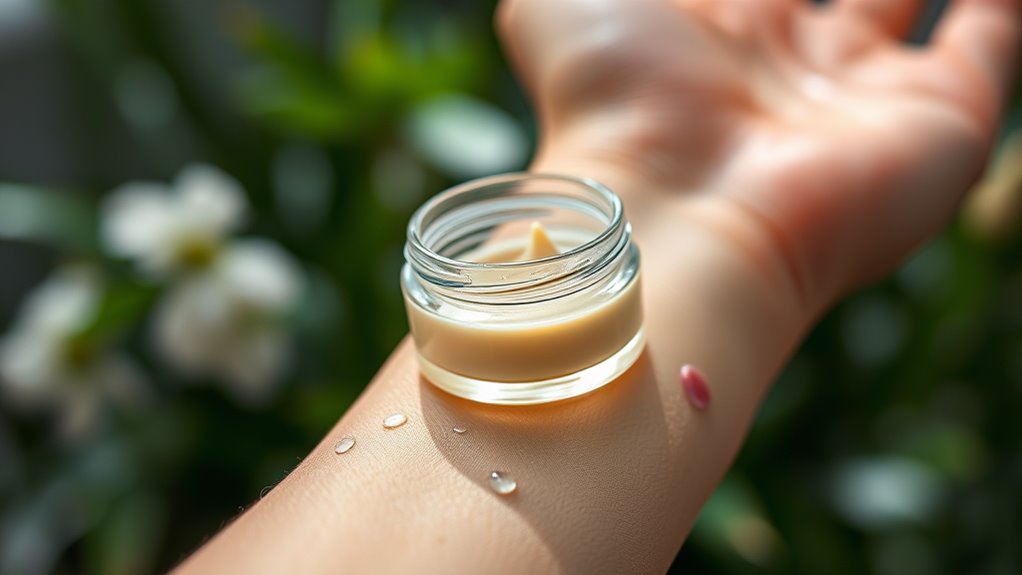
When applying your DIY ointment for scrapes and minor cuts, start by cleaning the affected area thoroughly to prevent infection. Use a clean cloth or gauze to gently pat the area dry.
Next, take a small amount of ointment and apply it directly onto the scrape or cut, ensuring it covers the entire wound. Use your fingers or a cotton swab for even distribution. Avoid applying too much, as a thin layer is usually sufficient.
Finally, cover the area with a sterile bandage to protect it from dirt and bacteria. Reapply as needed, especially after washing the area. Incorporating tea tree oil’s antimicrobial properties can enhance the effectiveness of your ointment in preventing infections.
Storage and Shelf Life of Your Ointment
After you’ve applied your DIY ointment, knowing how to store it properly is important for maintaining its effectiveness.
Keep your ointment in a cool, dark place, away from direct sunlight and heat sources.
A sealed glass or plastic container works best to prevent contamination.
Ensure the container is clean before refilling it.
Typically, your ointment should last for about three months if stored correctly, but check for any changes in color, smell, or consistency before each use.
If you notice any signs of spoilage, it’s best to discard it and make a fresh batch to ensure safety and effectiveness. Additionally, using essential oils can enhance the healing properties of your ointment, so consider incorporating them into your formula for better results.
Additional Tips for Wound Care
Proper wound care is essential for promoting healing and preventing infection.
First, clean the wound gently with soap and water to remove dirt and debris. Avoid using alcohol, as it can irritate the tissue.
After cleaning, apply your DIY ointment liberally. Cover the wound with a sterile bandage to keep it protected.
Change the dressing daily or if it becomes wet or dirty. Keep an eye out for signs of infection, such as increased redness, swelling, or pus. Incorporating natural antimicrobial ingredients into your wound care can enhance healing and provide additional protection against infections.
Lastly, don’t hesitate to consult a healthcare professional if you have concerns about your wound’s healing or condition.