Erase Wrinkles Overnight With This DIY Serum!
If you’re looking for a natural way to tackle those pesky wrinkles, this DIY serum might be just what you need. It’s simple to make and combines ingredients known for their skin-loving properties. Imagine waking up to smoother, more youthful skin without harsh chemicals. Curious about how to create this effective formula? Let’s explore the benefits and key ingredients that can transform your skincare routine.
Benefits of Using a DIY Anti-Wrinkle Serum
When you choose a DIY anti-wrinkle serum, you’re not just saving money; you’re also taking control of what goes on your skin. You get to craft a homemade anti-wrinkle serum tailored to your unique needs, ensuring it’s free from harsh chemicals and preservatives.
This personal touch fosters a sense of belonging to a community that values self-care and natural beauty. Creating your serum can be a fun and rewarding experience, allowing you to experiment with ingredients that resonate with you. You’ll find joy in the process, connecting with others who share your passion for holistic skincare.
Plus, using a homemade anti-wrinkle serum often leads to noticeable results, giving you confidence in both your skin and your choices. Additionally, the use of common kitchen ingredients in your serum can enhance its effectiveness and promote a more youthful appearance.
Key Ingredients for Your Serum
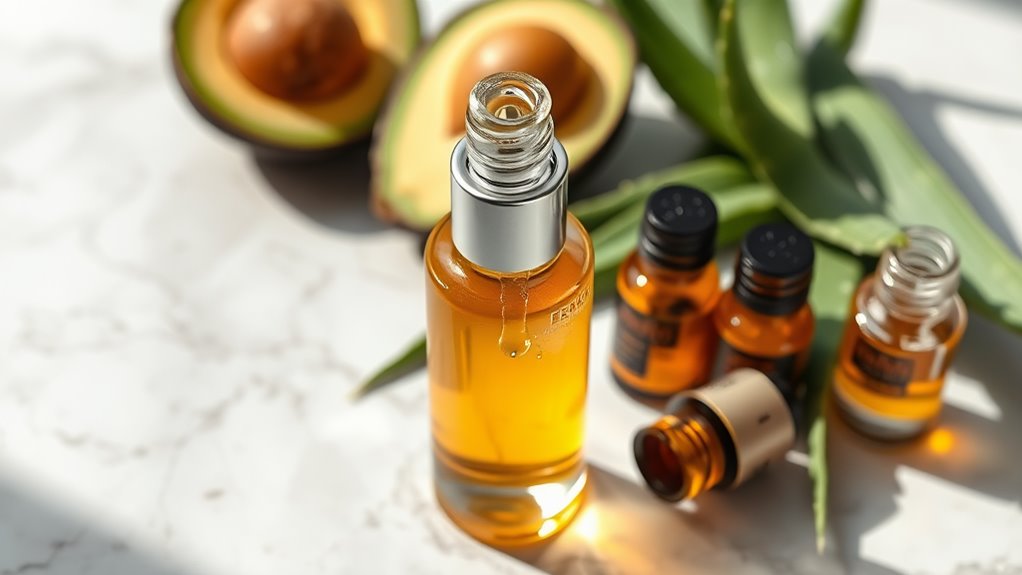
Crafting an effective DIY anti-wrinkle serum starts with selecting the right ingredients.
You’ll want to include powerhouse components like hyaluronic acid, which hydrates and plumps the skin. Vitamin C is another must-have; it brightens your complexion while reducing fine lines.
Don’t forget about essential oils like lavender or frankincense, which not only smell divine but also promote skin regeneration.
Adding aloe vera gel can soothe and moisturize, making it perfect for any skin type. If you’re looking for an extra boost, consider incorporating rosehip oil, known for its ability to improve skin texture and tone. Natural ingredients are key to creating a nurturing blend that helps you feel confident in your skin.
Each of these ingredients serves a purpose, working together to create a nurturing blend that helps you feel confident in your skin.
Step-by-Step Preparation Method
To create your DIY anti-wrinkle serum, gather all the ingredients and tools you’ll need beforehand. This will make the process smooth and enjoyable. Here’s a simple step-by-step guide:
- Measure your ingredients accurately.
- In a clean glass bowl, mix the oils together.
- Add any essential oils for fragrance and extra benefits.
- Stir gently until everything’s combined.
- Pour the mixture into a dark glass bottle for storage.
| Step | Action | Importance |
|---|---|---|
| 1 | Measure ingredients | Ensures effectiveness |
| 2 | Mix oils | Promotes even distribution |
| 3 | Add essential oils | Enhances benefits |
| 4 | Stir gently | Maintains integrity |
| 5 | Store properly | Preserves potency |
Now that you’ve prepared your serum, you’re one step closer to youthful skin. Enjoy the process, and feel proud of your creation!
Application Techniques for Best Results
Applying your DIY anti-wrinkle serum correctly can significantly enhance its effectiveness. To get the most out of your serum, follow these application techniques:
-
Cleanse your skin: Start with a gentle cleanser to remove impurities and prepare your skin.
-
Use a toner: Apply a hydrating toner to balance your skin’s pH and boost serum absorption.
-
Apply a small amount: A few drops are enough. Warm the serum between your fingers before gently pressing it onto your skin.
-
Focus on problem areas: Concentrate on wrinkles around your eyes, mouth, and forehead for optimal results.
-
Massage in gently: Use upward, circular motions to promote circulation and enhance absorption.
Tips for Storing Your Serum
Proper storage of your DIY serum is essential to maintain its potency and effectiveness. To ensure you get the most out of your serum, follow these simple tips:
| Storage Method | Tips | Benefits |
|---|---|---|
| Cool, Dark Place | Keep away from sunlight | Prevents degradation |
| Airtight Container | Use glass or dark plastic | Reduces exposure to air |
| Label Your Serum | Include date and ingredients | Helps track freshness |
| Regular Checks | Inspect for color/odor | Ensures quality over time |
Additional Natural Remedies for Youthful Skin
Here are some simple yet effective strategies you can adopt to rejuvenate your complexion:
-
Aloe Vera Gel: Known for its soothing properties, apply it to hydrate and reduce inflammation.
-
Honey Mask: Use raw honey as a mask to lock in moisture and boost radiance, as it contains antibacterial properties that help improve skin texture.
-
Green Tea: Drink or use it as a toner; its antioxidants help combat aging.
-
Coconut Oil: Massage a small amount onto your skin to nourish and keep it supple.
-
Avocado: Enjoy it in your meals or as a face mask for its healthy fats and vitamins.