Erase Fine Lines and Wrinkles With This Cheap DIY Trick!
You’re probably noticing those fine lines and wrinkles creeping in, and it can be frustrating. But what if you could tackle them without spending a fortune? There’s an easy DIY trick that combines natural ingredients to rejuvenate your skin. This affordable solution not only hydrates but also promotes a youthful glow. Curious about how to whip up this simple treatment and apply it effectively? Let’s explore the essential ingredients and techniques you’ll need.
Understanding Fine Lines and Wrinkles
As you age, your skin naturally loses elasticity and moisture, leading to the development of fine lines and wrinkles. It’s a common experience that many of us share, and understanding this process can empower you to take action.
Factors like sun exposure, pollution, and lifestyle choices contribute to these visible signs of aging. You might feel overwhelmed, but remember, you’re not alone in this journey.
One effective way to combat these signs is through a wrinkle removal home remedy. Simple ingredients found in your kitchen can work wonders. For instance, using natural oils or applying homemade masks can rejuvenate your skin and boost your confidence. Embracing these DIY techniques not only helps improve your skin’s appearance but also connects you with others seeking similar solutions.
Creating a natural anti-wrinkle serum at home allows you to harness the power of these ingredients effectively. Together, you can celebrate the beauty of aging while nurturing your skin and spirit. Let’s explore these remedies and bring back that youthful glow!
Essential Ingredients for Your DIY Treatment
When you’re ready to tackle fine lines and wrinkles, choosing the right ingredients for your DIY treatments can make all the difference.
Here are three essential ingredients to consider for a rejuvenating experience that’ll help you feel like part of a community dedicated to self-care:
-
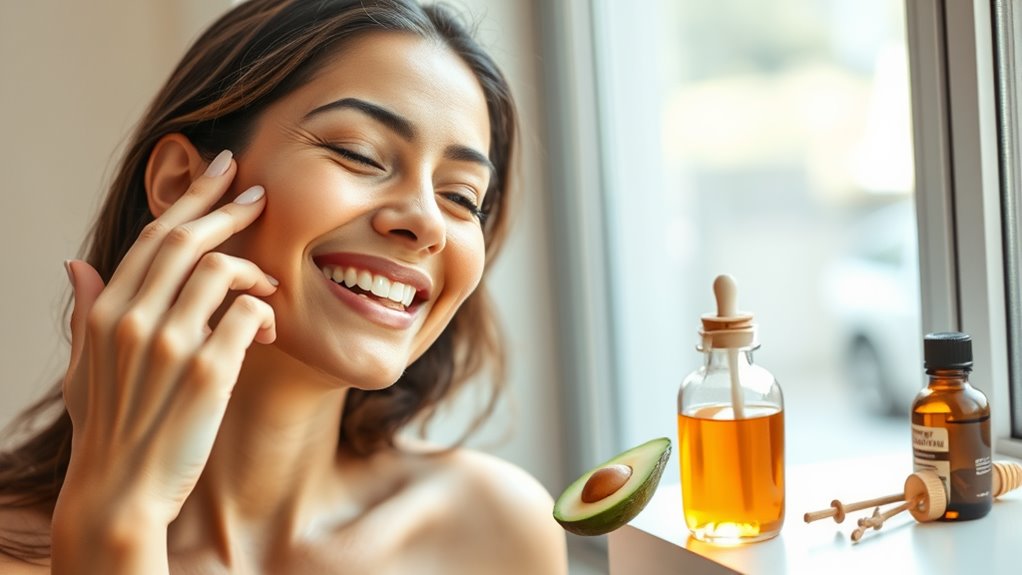
Aloe Vera Gel: This natural moisturizer hydrates your skin and promotes healing, making it a perfect base for your treatment.
-
Coconut Oil: Rich in antioxidants, coconut oil nourishes and softens the skin, helping to reduce the appearance of fine lines.
-
Vitamin E Oil: Known for its healing properties, vitamin E oil can repair damaged skin and improve elasticity, giving you that youthful glow.
Incorporating these ingredients into your DIY regimen not only enhances your skincare routine but also connects you with others who prioritize natural beauty. Additionally, using honey’s antibacterial properties can further elevate your skin’s health and appearance.
Embrace the journey towards healthier skin together!
Step-by-Step Preparation of the Facial Treatment
Creating your DIY facial treatment is a straightforward process that requires just a few simple steps. First, gather your essential ingredients, like natural oils, honey, or yogurt, which you’ve chosen for their skin-loving properties.
Next, measure out the right quantities based on your recipe. You’ll want to mix them in a clean bowl until you achieve a smooth and consistent texture.
Then, take a moment to prepare your skin. Wash your face gently to remove any dirt and oil. This ensures your treatment will absorb effectively.
Once everything’s ready, transfer your mixture into a clean container for easy access.
Feel free to personalize your treatment by adding a few drops of essential oils or a pinch of your favorite herb. This way, you’ll create something uniquely yours that fits seamlessly into your skincare routine. Additionally, consider incorporating ingredients that can soothe dry skin to enhance the effectiveness of your treatment.
Application Techniques for Optimal Results
To achieve the best results from your DIY facial treatment, start by applying it to clean, dry skin. This sets the stage for maximum absorption and effectiveness.
Here are some techniques to enhance your application:
-
Gentle Massage: Use your fingertips to apply the treatment in circular motions. This not only helps with absorption but also stimulates blood flow, giving your skin that extra glow.
-
Even Distribution: Ensure you cover your entire face, paying special attention to areas prone to fine lines, like around your eyes and mouth. A little goes a long way, so don’t overdo it!
-
Allow Time to Absorb: After applying, let the treatment sit for a few minutes before layering any other products. This allows your skin to soak up all the nourishing ingredients, which often include common kitchen ingredients that are known for their skin benefits.
Tips for Maintaining Youthful Skin
Maintaining youthful skin is easier than you might think, especially if you incorporate a few simple habits into your daily routine. Start by drinking plenty of water—staying hydrated helps keep your skin plump and vibrant.
Don’t forget to cleanse your face every night to remove dirt and makeup, allowing your skin to breathe and regenerate. Incorporate a lightweight moisturizer to lock in hydration, and consider using products with antioxidants like vitamin C to brighten your complexion.
Protect your skin with sunscreen daily; this isn’t just for sunny days. Also, make time for regular exfoliation—this removes dead skin cells and reveals a fresher layer underneath.
Lastly, prioritize sleep and manage stress; both play a significant role in your skin’s appearance. By embracing these habits, you’ll not only enhance your skin’s health but also feel more connected to those around you who share the same goals. Additionally, incorporating nutrient-rich foods into your diet can further support your skin’s resilience and overall health.